Create iView for SAP Tcode
The steps for creation of iview for a transaction are pretty self explanatory. I will copy the screens below. Hopefully these have enough information to get you going.
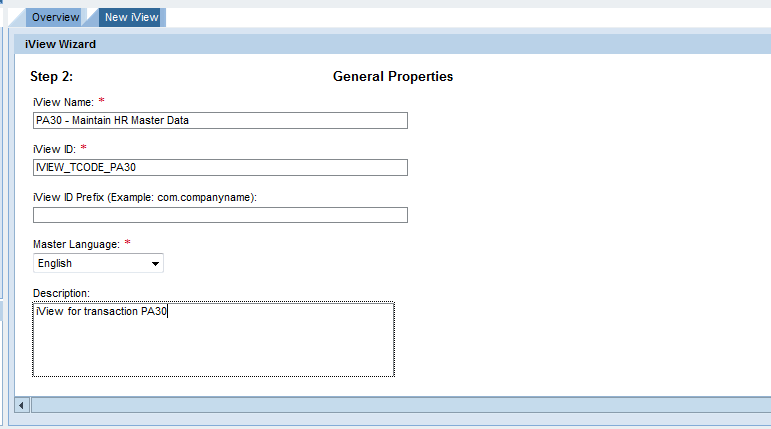
We start with deciding on the name and component id for the iView

Next we choose the gui type of the transaction. Full functionality for some transaction might not be available for some of these options.

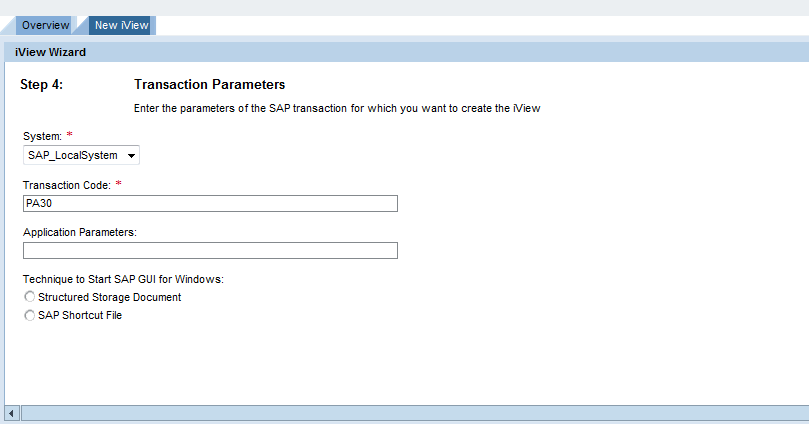
Now we specify the transaction for which the iView is created. Understandable this is the linchpin of the entire process.

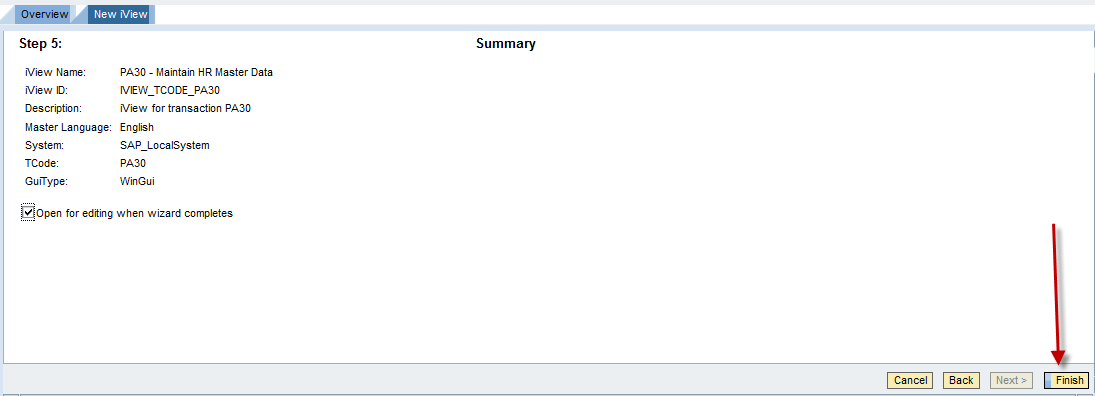
This is the confirmation screen of the process showing the data entered till now. Clicking the finish button will create the iView in the PCD

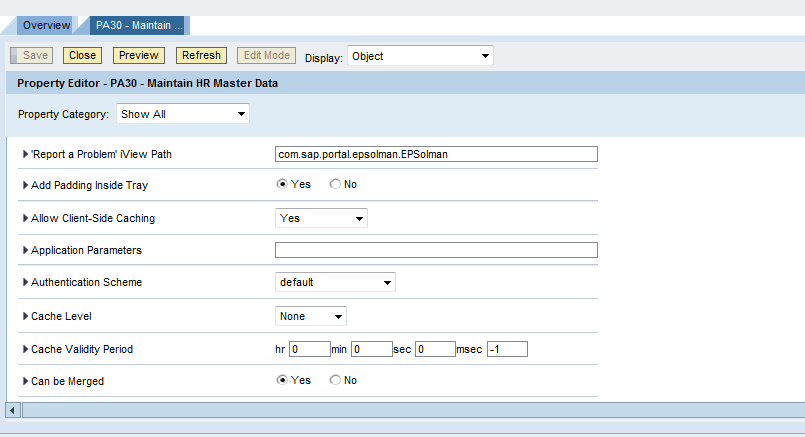
Once created we can open the iView in the explorer to display and further maintain its properties. The iView can now be incorporated in worksets and roles.
