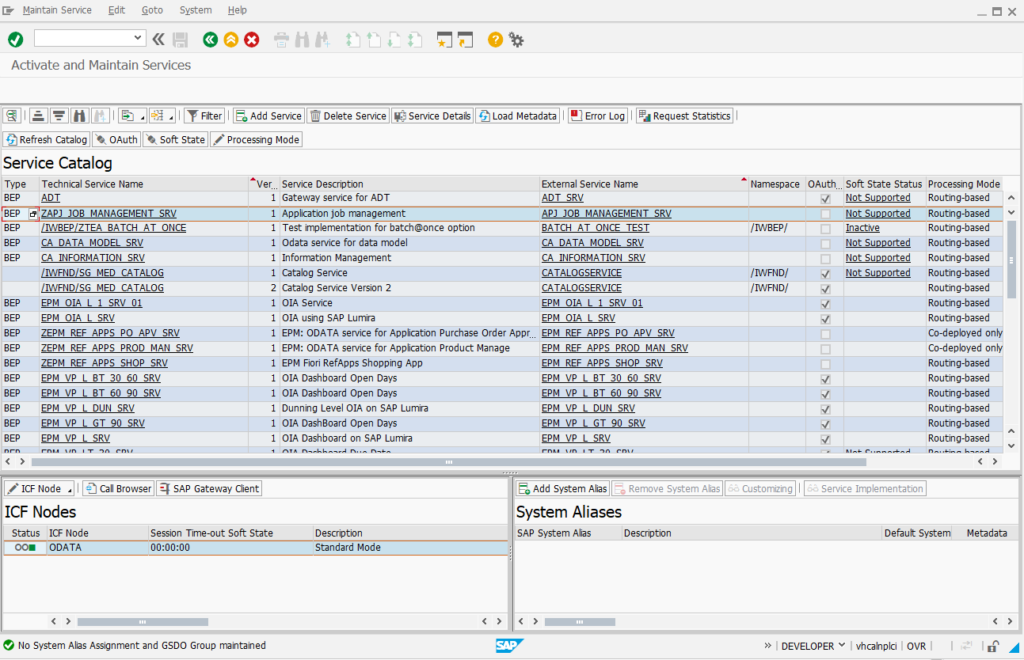
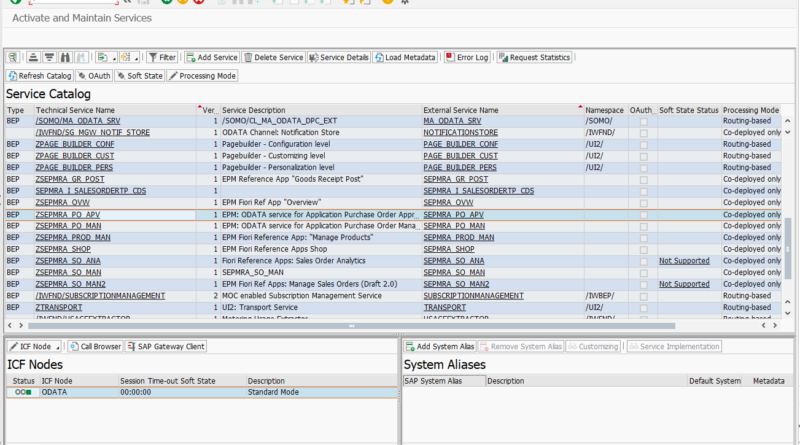
ODATA Services in Fiori
Fiori Apps including the ones used in S4HANA use Odata services to communicate with the frontend SAP server which hosts the Fiori Apps. Odata is open source communication protocol for services designed by Microsoft to define how services exchange data from the frontend presentation servers (like a browser) with the backend servers (like a Fiori Gateway server) where they are hosted. When Fiori apps is first created, the Odata services for them need to be maintained and activated. In this post we will talk about transactions used to activate Odata services and troubleshoot errors for them. Please note that a post like this cannot give you details of every error you might encounter and their possible solutions. There are enough resources on the internet to help troubleshoot individual errors. What we are trying to do here is to introduce you to the transactions and approaches you would need to use to troubleshoot.
Typically, as a security consultant we would typically not need to activate services (This job is typically left to the Basis team working on the project). However, it is important to know the process to activate them and check if they are activating correctly. The transaction used to maintain and/or activate Odata services is /iWFND/MAINT_SERVICE. The screen below shows the home screen of the transaction. The top portion of the screen shows the list of Odata services already added configured.
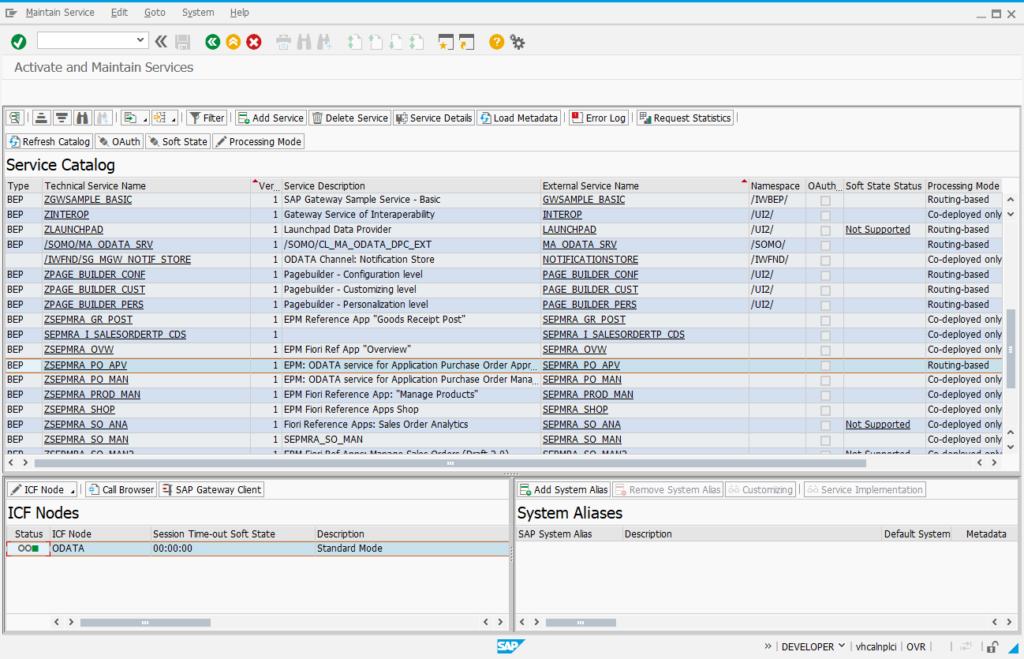
/IWFND/MAINT_SERVICE – Activate Maintain Odata Services
Selecting one of the services shows two sub-screens in the bottom part of the screen. In the above screen, we see that status of the service in SICF (window ICF Nodes) is green. If the service is not activated in SICF, we can open the SICF transaction and activate the service. Clicking the ICF Node in this screen, opens up a menu to Activate, Deactivate or Configure the service in SICF. Selecting the Configure option opens up the service in SICF as shown below. SICF transaction allows us check/update various options for the service.
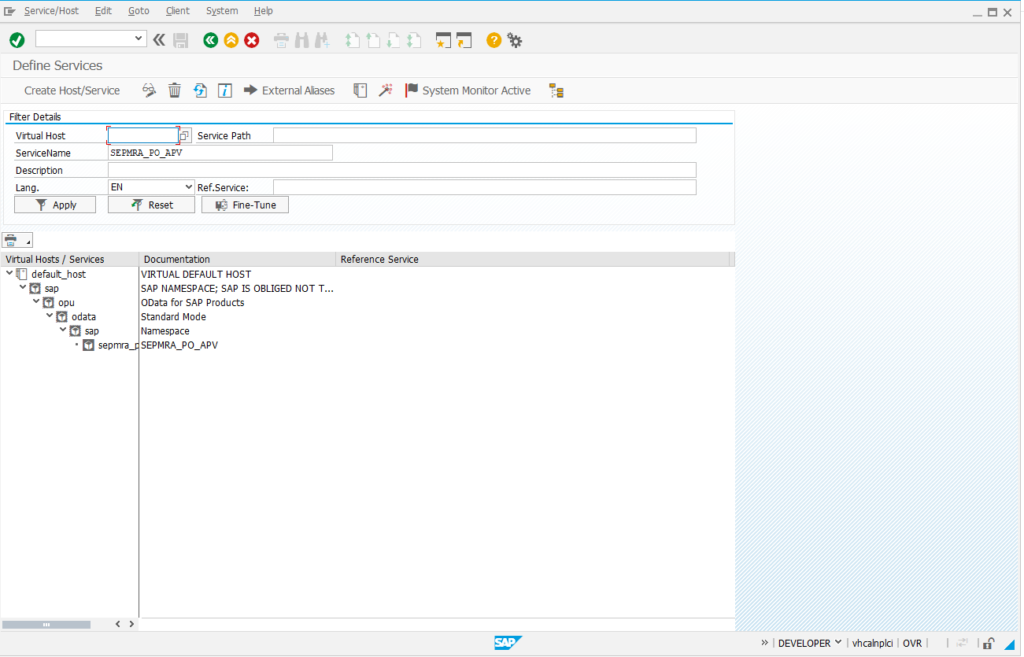
To test the service, we click the SAP Gateway Client Button which opens a new screen altogether as shown below.
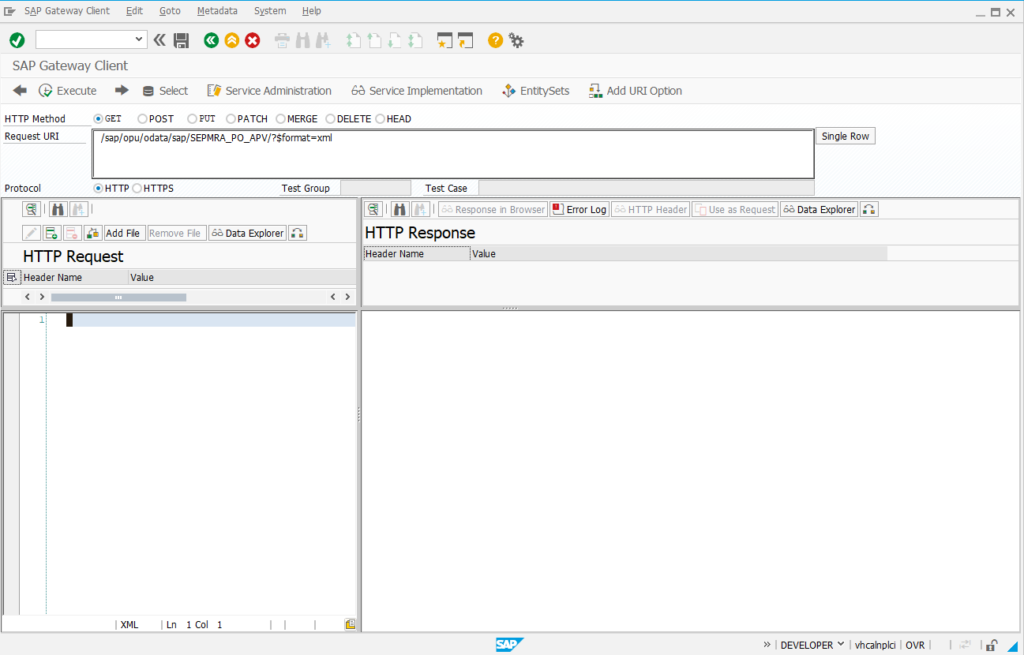
To actually test out the service, we click the “Add URI Button” in the toolbar and select the metadata option. Now, we click the execute button from the toolbar.
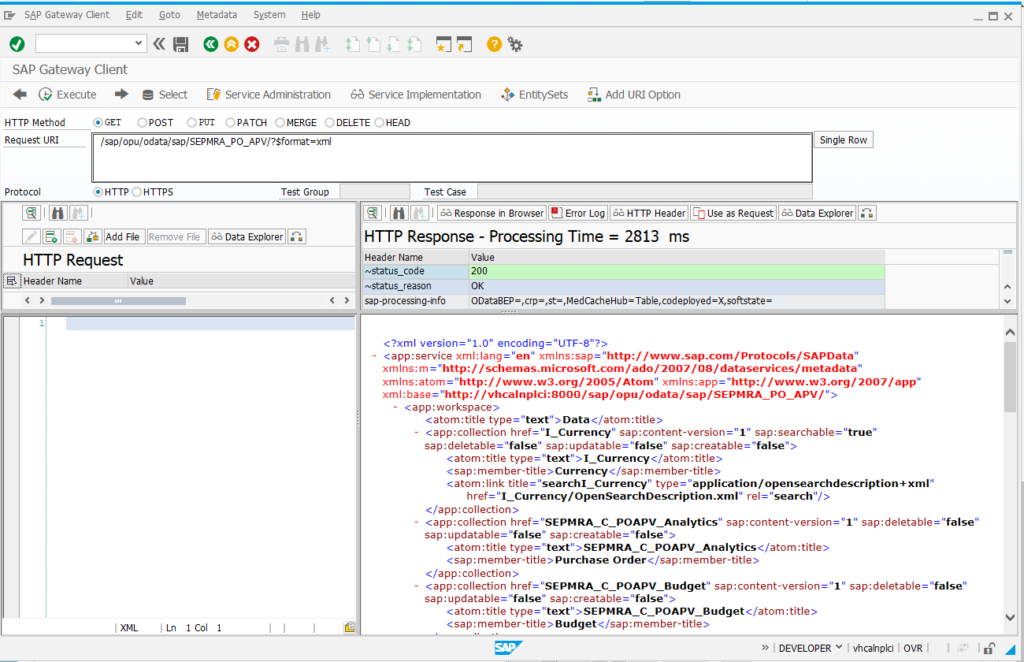
Clicking the error log button in the above screen opens up a different screen which is also quite useful for troubleshooting Odata service related errors. This transaction will show all the Odata service related errors reported. Since the current service has worked correctly, there is no error reported. However, the screen does show an earlier error. This same program to troubleshoot errors can be access using the /IWFND/ERROR_LOG transaction.
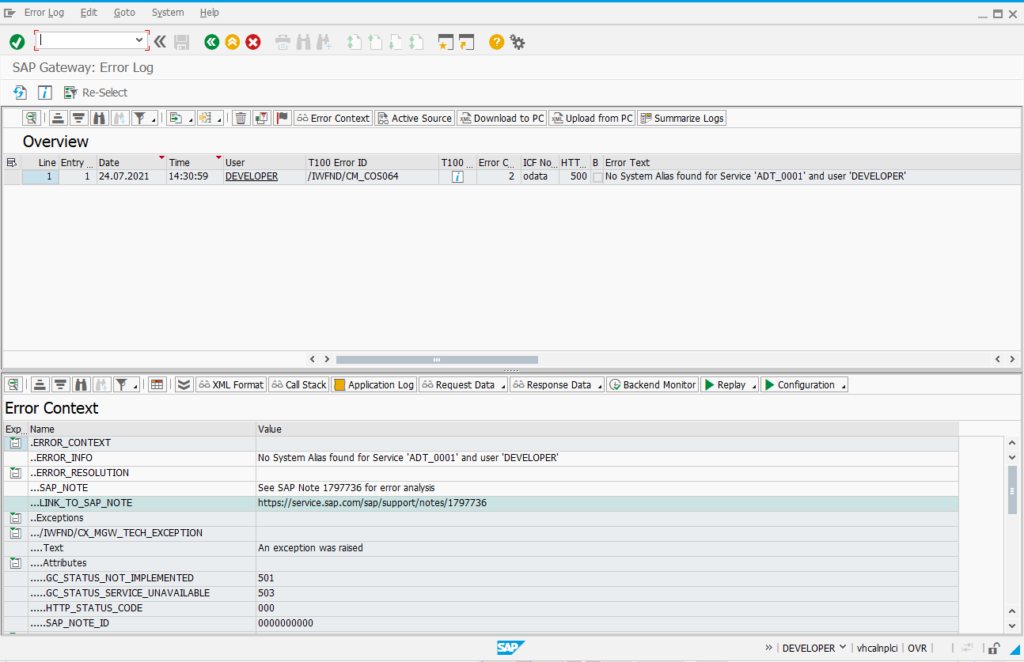
/IWFND/ERROR_LOG – Check for Odata Service Error Logs
Typically we need to add a System Alias for a service that we would like to use through Fiori App tiles. To add a system alias we click the Add System Alias button in the bottom right and add the system Alias defined by your Basis team.
In case, the service is the list of services in the /IWFND/MAINT_SERVICE transaction, we click the Add Service button, which opens up a new screen. Clicking the Get Services button returns all the services defined in the system but not added to /IWFND/MAINT_SERVICE
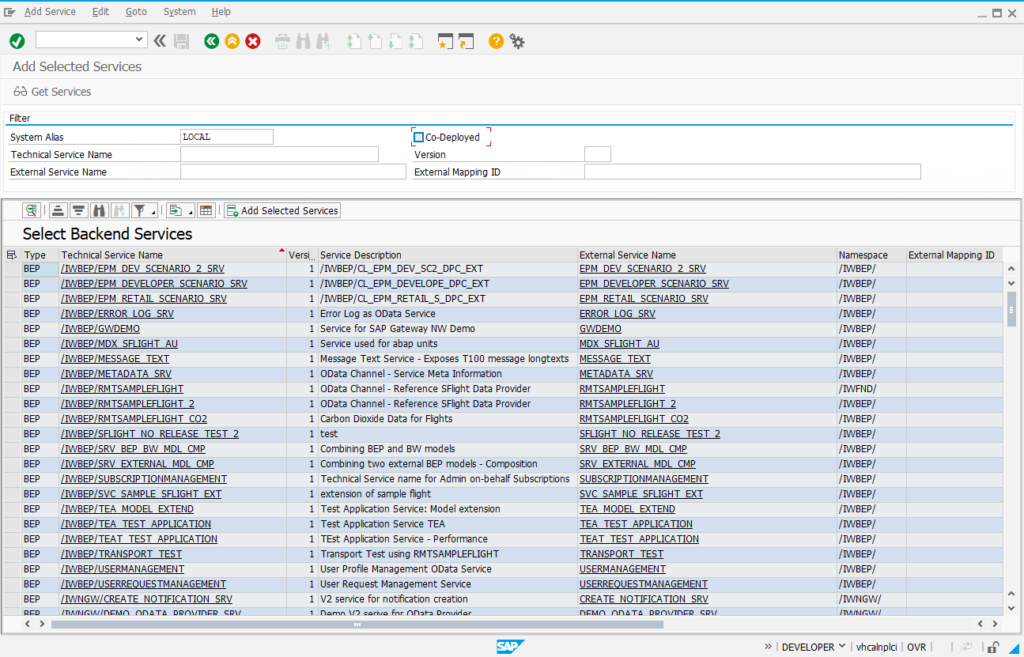
To start adding a service, we select the required service and click the “Add Selected Service” button. We get a pop-up screen, with the details of the service and an option to select the package for transporting the service.
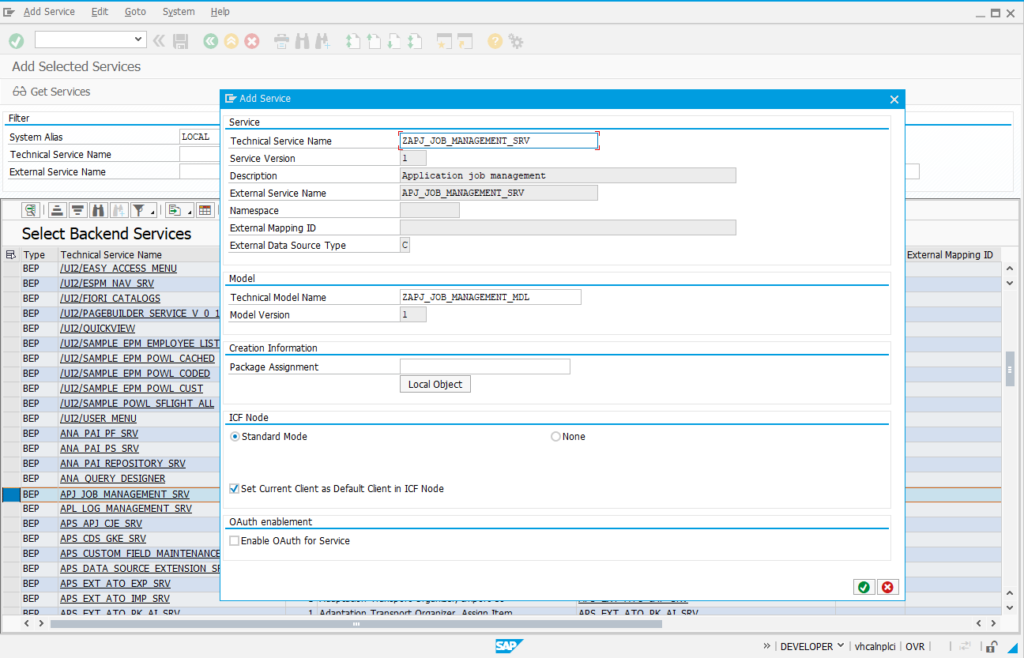
For the purpose of this tutorial, we used the option of local object and clicked the check button. We get a message that service is now added to /IWFND/MAINT_SERVICE
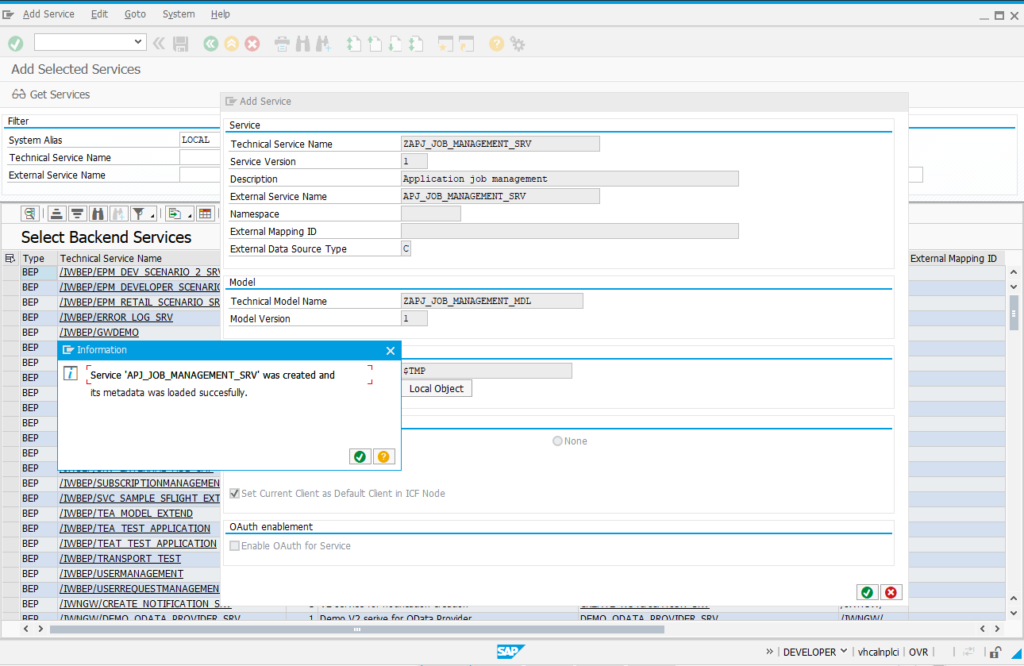
The newly added service can now be seen in the /IWFND/MAINT_SERVICE list of services
